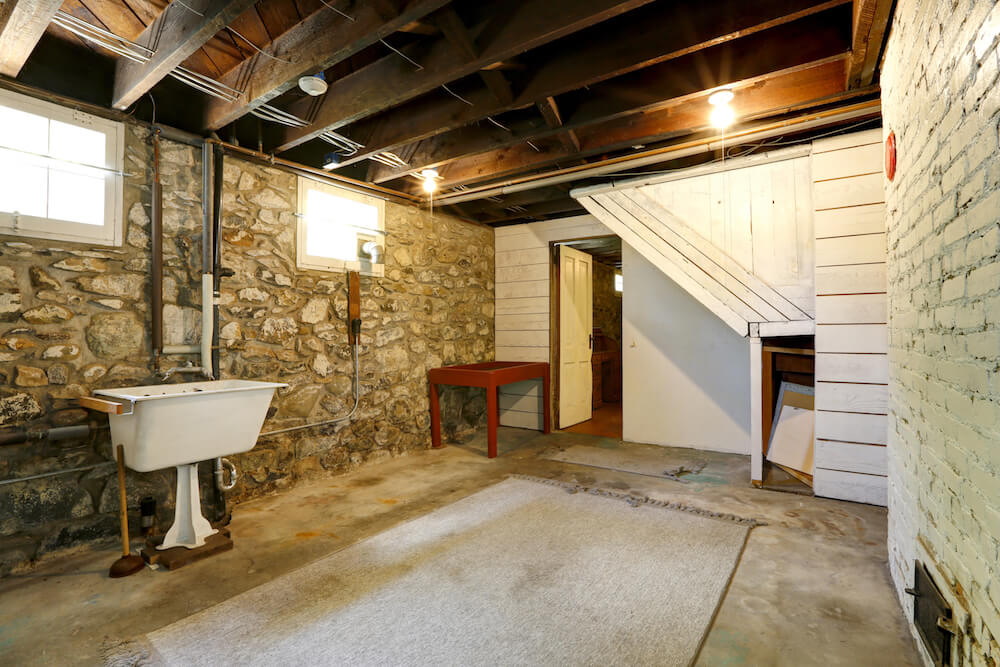
Coldness and damp are not a good combination for housing. An old basement, or one that hasn’t been adequately maintained, will allow water to seep from the surrounding earth and wreak havoc with the foundations.
Failing to upkeep the waterproofing on any subterranean parts of your house will inevitably lead to an increase in mould, which can irritate or cause an increase in respiratory conditions and other ailments, as well as chip away at the structural integrity of your property. This can occur from even the smallest breach, so regular checks and maintenance are an absolute necessity.
Fortunately, waterproofing your basement isn’t nearly as daunting a procedure as it might seem. With a bit of technical know-how and enough time to sink your teeth into a DIY project, anybody can ensure that their house remains secured against the elements.
2. Which way to waterproof your basement?
Firstly, you will have to make the choice of what kind of waterproofing solution you will be going for. We strongly recommend waterproofing from the outside to stop water at the source. That way, you also protect the building structure.
We’ll be covering external membrane installation in detail, as the others are mostly stopgap solutions or ways to alleviate excess moisture (but not effective long-term solutions in themselves).
If the water has already penetrated in your basement, you should think about doing these first steps:
- Installing a sump pump: This is for cases where water has already entered the basement, and installing a sump pump will allow you to remove excess moisture prior to further waterproofing.
- Waterproof paint: If you’re getting a lot of seepage through the walls, you could consider painting your basement walls with waterproof paint. This is a stopgap solution, and while slowing moisture accumulation, it might not necessarily fix the problem.
- Installing a dehumidifier: If you’re dealing with a particularly humid basement, one easy solution is to suck the moisture out of the air, storing it in a reservoir that you can empty periodically.
- Membranes: If you’re looking for a preventative solution to provide initial defence, as well as bolster any other waterproofing efforts, then your best bet is in PVC (or PVC blend) membrane sheeting installed to the external walls of your basement.
2. Equipment
Next, you’ll need to choose which particular waterproofing system type you would like having installed. We recommend either Wolfin or Cosmofin.
Wolfin is first-in-class for membrane sheeting, and affords extreme protection from the harsh Australian climate. It comes in either Wolfin IB, a standard multi-purpose loose-laid application, and Wolfin GWSK, an adhesive-backed bonded membrane form. However, installation of Wolfin can only be done by an accredited Wolfin Applicator, making it unsuitable for DIY work unless that person already works in the industry. This is still the premium product in its class, however, so if you desire a truly quality installation that will stand the test of time, it’s an excellent choice.
Cosmofin is an industry standard, and is best used as a long-term solution that is as reliable as it is flexible. Cosmofin is used in everything from residential to maritime applications, and is easily applicable for home DIY use, especially as it is versatile enough to be applied to almost any external building material, from concrete to timber.
Cosmofin comes in both loose-laid, strip-bonded, and fully-bonded application. The easiest to install is strip-bonded, as it comes with its own adhesive as part of the package, while fully-bonded will require the use of traditional adhesives.
3. Installation
Here are the steps for installing Cosmofin and Wolfin:
- Saw Cut Terminations The first step is to establish where the saw cut terminations are to be positioned, as well as chalk the line base slab and wall terminations. It’s important to remember that the wall terminations must be a minimum of 100mm above ground and backfill level. Mix and apply non-shrink grout to all the saw-cut terminations, then whilst still wet, embed the factory bonded membrane profiles into the grout, mechanically fastening the profile with Hilti nips at 150mm centres.
- Preparing the membrane: Measure all the areas of the basement that need to be waterproofed, and cut the membrane to these specific required lengths and dimensions.
- Installing the membrane: The membrane will be hot-air welded directly onto the top and the base terminating profiles, with the membrane having an overlap of 50mm where the sheets are joined together on the verticals.
- Inspection: Inspect all the laps, seams and joints with a screwdriver to ensure waterproofing integrity. There should be no gaps, holes or areas where the screwdriver can penetrate into a seam, lap or joint of the membrane system.
- Repairs: All repairs of laps, seams or joints should be re-welded using the hot air gun to ensure that the membrane system is totally waterproof without any gaps or breaches.
- Backfilling: Prior to backfilling against the membrane, there are a couple of things to do first. You need to install A44 geofabric directly against the membrane, as well as install drainage cells (followed by another layer of geofabric). This will provide protection for the membrane, as well as aid the drainage from these areas. These works are normally carried out by the waterproofing contractor to ensure the total integrity of the membrane system against potential damage.
Membranes for waterproofing your basement
The biggest point of failure for waterproofing isn’t in the initial installation, but rather in letting the slow march of time allow water to slowly pool and reach through gaps in walls. Check your basement regularly for any excess humidity or dampness, and if you spot any mould, examine your entire waterproofing situation.
If you need any help, contact us at Projex to have a chat about your basement waterproofing needs.